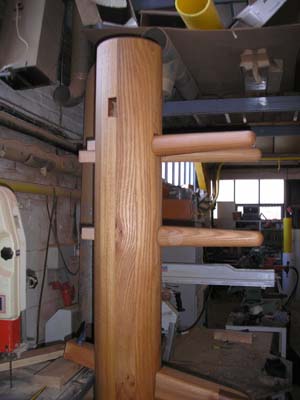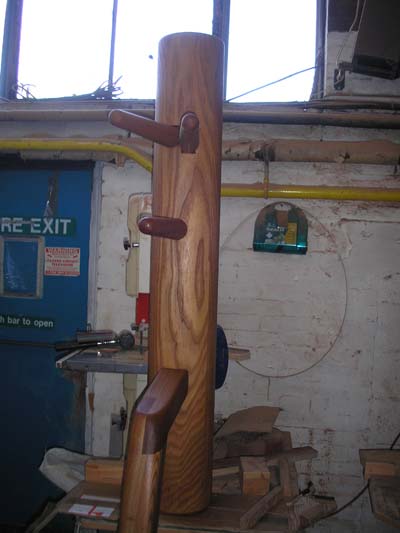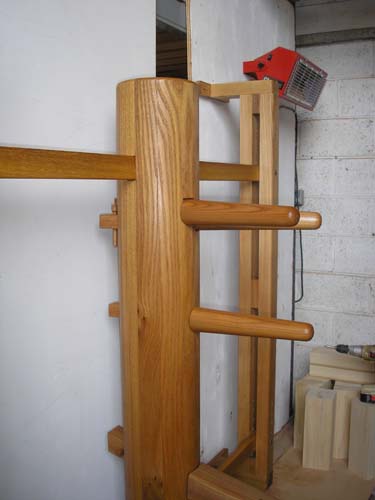
Elm Wing Chun Wooden Dummy (Mook Yan Jong) in the making.
Below are some pictures of an Elm wooden dummy in the
making.
The dummy body is laminated from either 4 boards each starting off life as
225mm wide * 65mm thick. Or Three boards at 225mm wide * 75mm thick They
are then machined and glued together to form the dummy body this normally
equates to approx. 3.5 cubic feet of timber just for the body.
People usually ask me why do you laminate the body like this cant you use
a single piece of timber. The answer is yes I can use a single piece of
timber if it were available, but unfortunately it is not. Hardwood tend to
be sawn at a maximum thickness of 4" (100mm) the boards are then either
kiln or air dried. Thicknesses greater than this cannot be dried easily
and even when dried at a thickness of 4" (100mm) they cannot guarantee
that the moisture content is suitable for internal use. If the moisture
content is not low enough for internal use, as the wood dries out large
cracks and splits can occur. You can obtain timber in a size large enough
for the body to be turned from e.g. green oak this timber has not been
dried and as it dries it will develop cracks and splits but these will not
affect the strength of the body. This is an ideal choice for an outdoor
dummy. Green oak is very heavy normally double the weight of dried oak,
eventually as it dries out the weight will decrease but this may take many
years. It does have one large advantage over dried oak, that it cheaper,
available in large sizes and easier to cut.
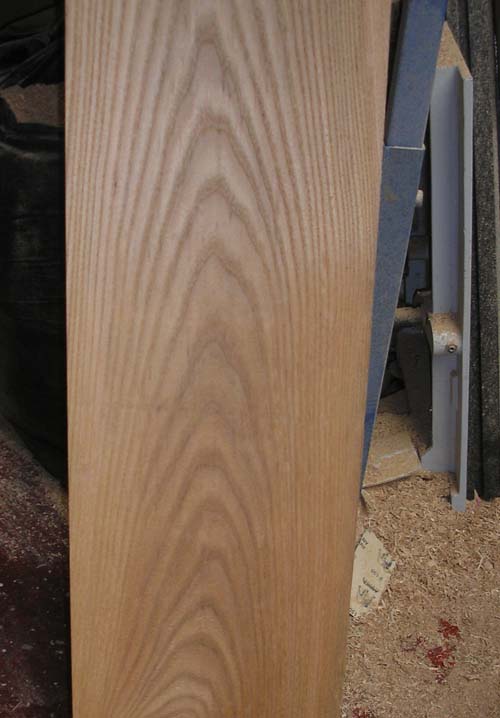
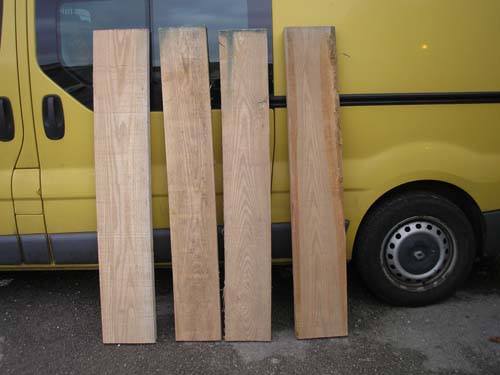 Sawn Elm boards before processing, these boards
will be glued together to make the dummy body. Sawn Elm boards before processing, these boards
will be glued together to make the dummy body. |
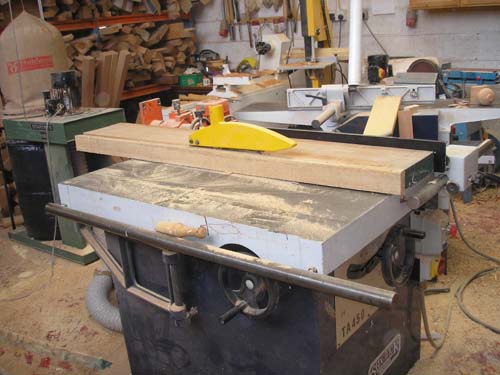 Ripping edge of boards to size. Ripping edge of boards to size. |
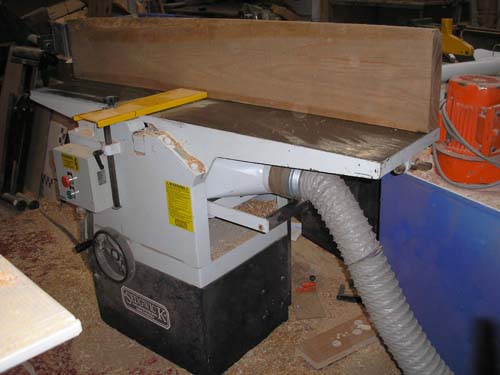 Edging board on planer. Edging board on planer. |
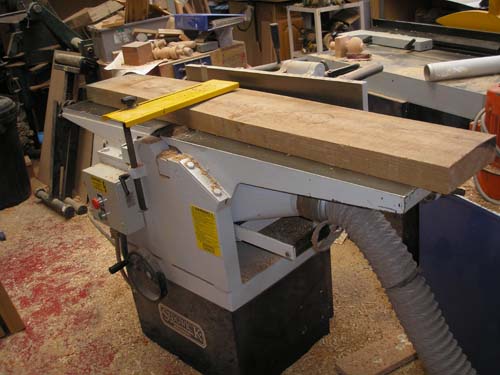 Face machining boards prior to
thickness Face machining boards prior to
thickness |
|
|
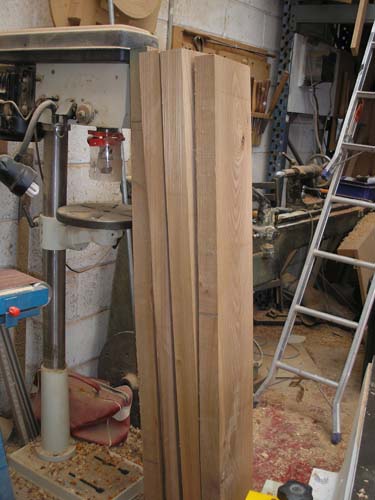 Faced boards stacked prior to thickness. These boards will be thicknessed before laminating. 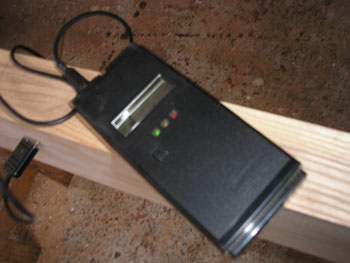 Moisture checking boards. |
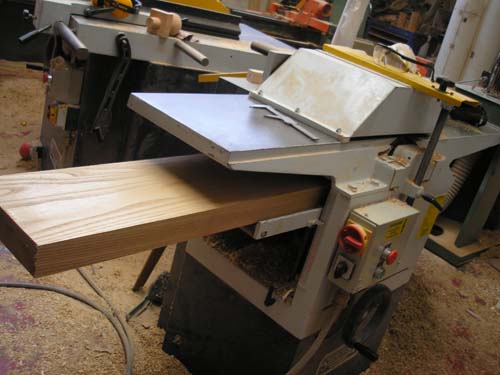 Thicknessing boards prior to
Laminating Thicknessing boards prior to
Laminating |
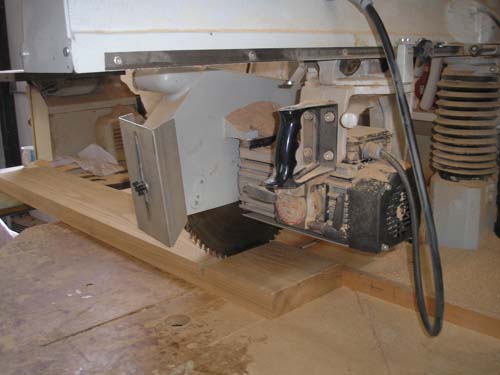 Cutting the support strut holes on
the middle board prior to laminating Cutting the support strut holes on
the middle board prior to laminating |
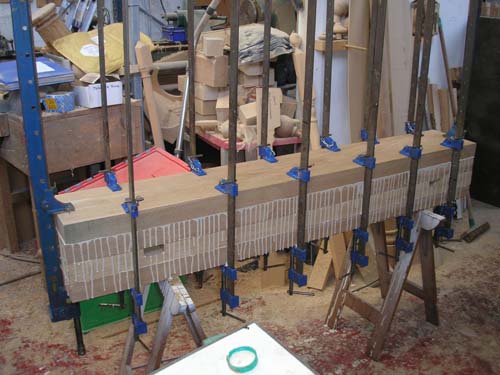 Laminating the machined boards
together to form the turning blank for the dummy body. Laminating the machined boards
together to form the turning blank for the dummy body. |
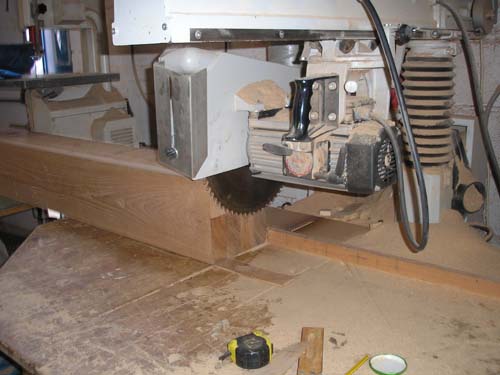 Cutting the dummy body blank to
length Cutting the dummy body blank to
length |
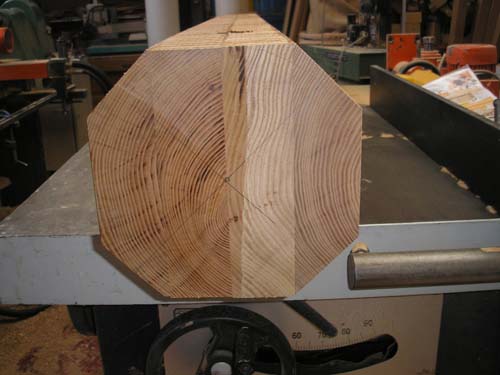 The corners have been cut of prior
to turning The corners have been cut of prior
to turning |
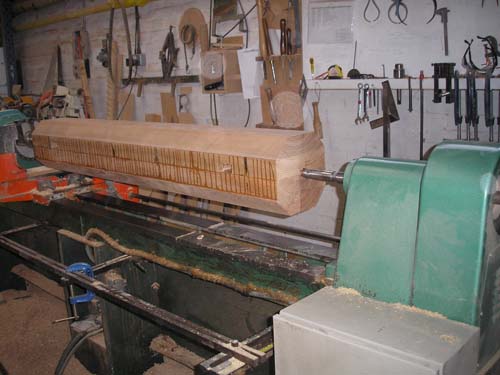 The elm turning blank mounted on
the lathe ready to be turned The elm turning blank mounted on
the lathe ready to be turned |
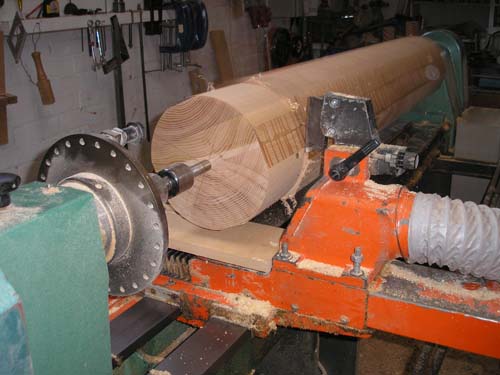 Turning the dummy body Turning the dummy body |
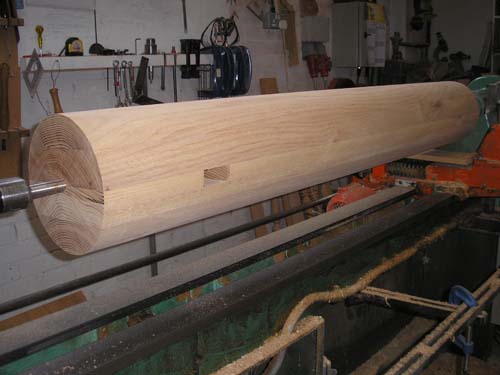 The dummy body turned to a cylinder
ready for marking out. The dummy body turned to a cylinder
ready for marking out. |
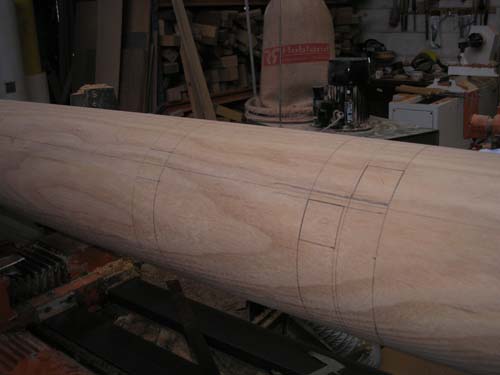 The dummy body marked up with the
hole positions, ready for drilling The dummy body marked up with the
hole positions, ready for drilling |
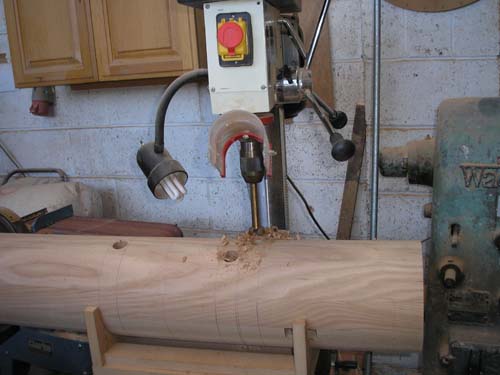 The dummy body on the drill press and the holes
being drilled. This has to be done from both sides. The dummy body on the drill press and the holes
being drilled. This has to be done from both sides. |
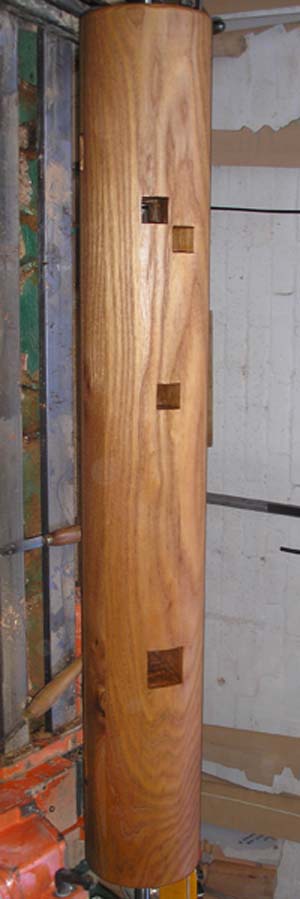
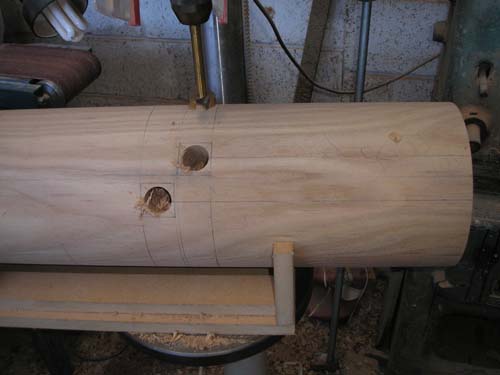 Arm holes drilled. Arm holes drilled. |
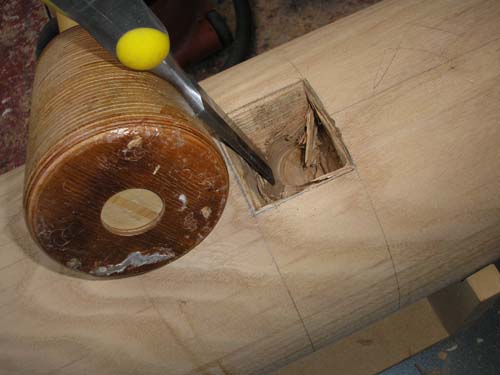 The leg hole being cut square with
a mallet and chisel The leg hole being cut square with
a mallet and chisel |
|
Elm dummy body 1st coat of Rustins Original Danish oil. |
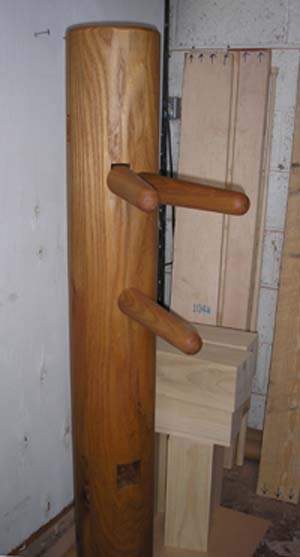
Elm wooden dummy body with arms |
|
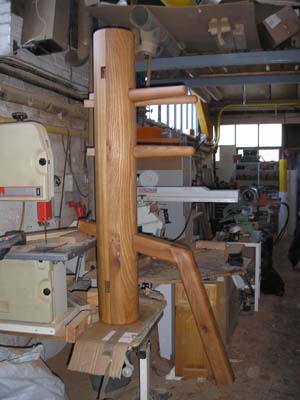
Elm wooden dummy side on view |
Elm wooden dummy top half |
|
Elm wooden dummy front view |
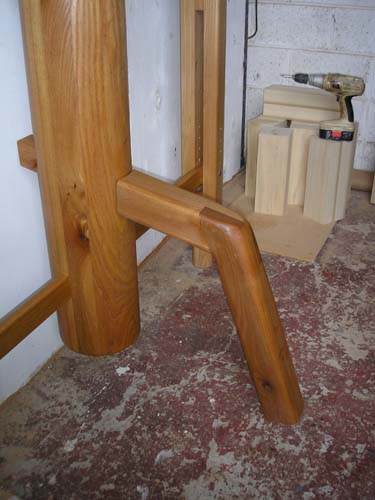 View of Elm wooden dummy leg |
|
View of top of wooden dummy |
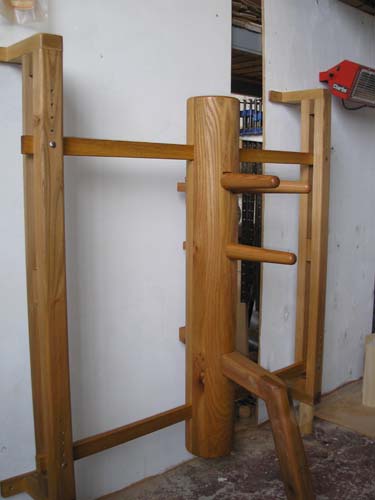 Elm Wooden Dummy in wall mounted frame |